For installation instruction follow my post on Android App development on a Mac. This post is written with an android studio version 1.0.1.
Open Android Studio. Create a New Project.

In the project Wizard, set up the App name to be HelloWorld. Then provide a package name. Remember that the package name should be globally unique across all packages installed on Android. Next, choose your project location and hit next.

Now you have to choose the minimum SDK version.

There is also something known as Target SDK. The Android Studio automatically sets the target SDK for you to the latest Android version. However, in order to develop an Android App, its important for you to know the difference between the two.
The Min SDK acts as your low pass filter. The Google Play wont show your app on a device running a lower version than your Min SDK. However, the target SDK does not act as a high pass filter. This only declares which platform, your app has been tested on.
Next, we have to choose an Activity. We choose a Blank Activity with Fragment. An activity serves as a presentation layer for the UI and a fragment represents a behavior or portion of the screen.

Next, we have the option to modify the names of the files auto-generated from the Wizard.

The layout will come from activity_main, which is an XML file. Similary, the fragments layout will come from fragment_main which is also an XMl file. When you click on Finish, you will see the project structure as seen in the screenshot below.

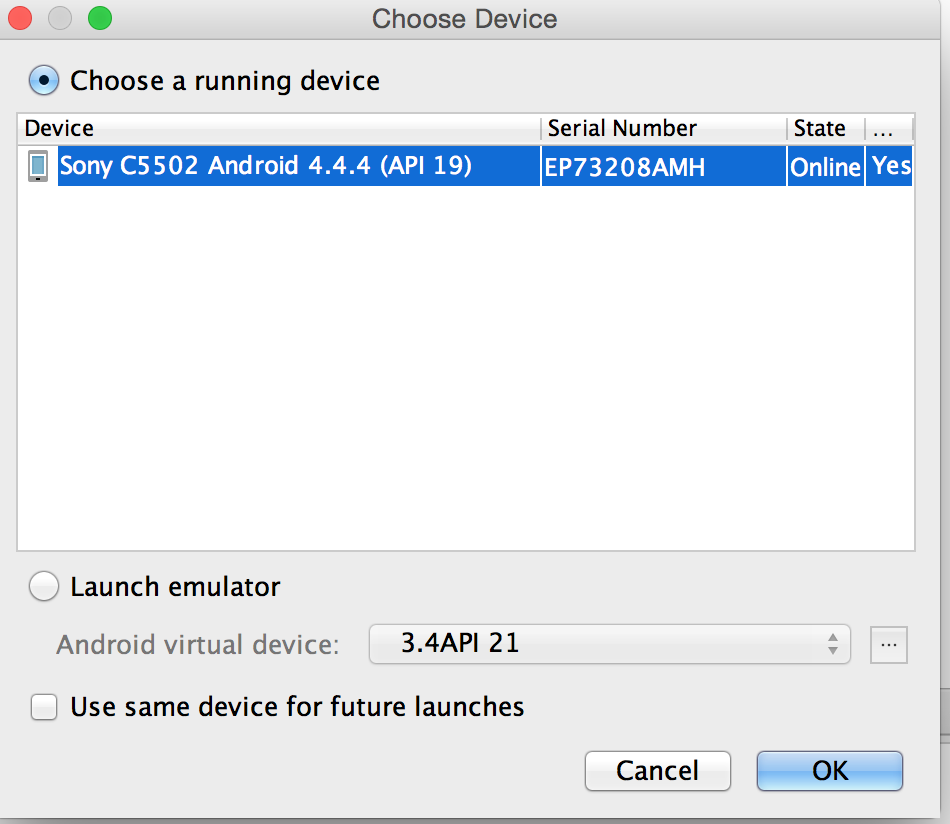
Make sure that your Android device is connected via USB and USB debugging is enabled on device. Hit run for the project in Android Studio
Congratulations!!! You have your HelloWorld App running on your device.

Open Android Studio. Create a New Project.

In the project Wizard, set up the App name to be HelloWorld. Then provide a package name. Remember that the package name should be globally unique across all packages installed on Android. Next, choose your project location and hit next.

Now you have to choose the minimum SDK version.

There is also something known as Target SDK. The Android Studio automatically sets the target SDK for you to the latest Android version. However, in order to develop an Android App, its important for you to know the difference between the two.
The Min SDK acts as your low pass filter. The Google Play wont show your app on a device running a lower version than your Min SDK. However, the target SDK does not act as a high pass filter. This only declares which platform, your app has been tested on.
Next, we have to choose an Activity. We choose a Blank Activity with Fragment. An activity serves as a presentation layer for the UI and a fragment represents a behavior or portion of the screen.

Next, we have the option to modify the names of the files auto-generated from the Wizard.

The layout will come from activity_main, which is an XML file. Similary, the fragments layout will come from fragment_main which is also an XMl file. When you click on Finish, you will see the project structure as seen in the screenshot below.

Make sure that your Android device is connected via USB and USB debugging is enabled on device. Hit run for the project in Android Studio
Congratulations!!! You have your HelloWorld App running on your device.


